
 by
by 
Elegant Custom Printed Weed Pen Boxes With Secure Design
- September 25, 2026
- articles
Custom weed pen boxes help keep fragile vaporizer devices safe while sitting on store shelves or travelling through postal networks. People who... Read More
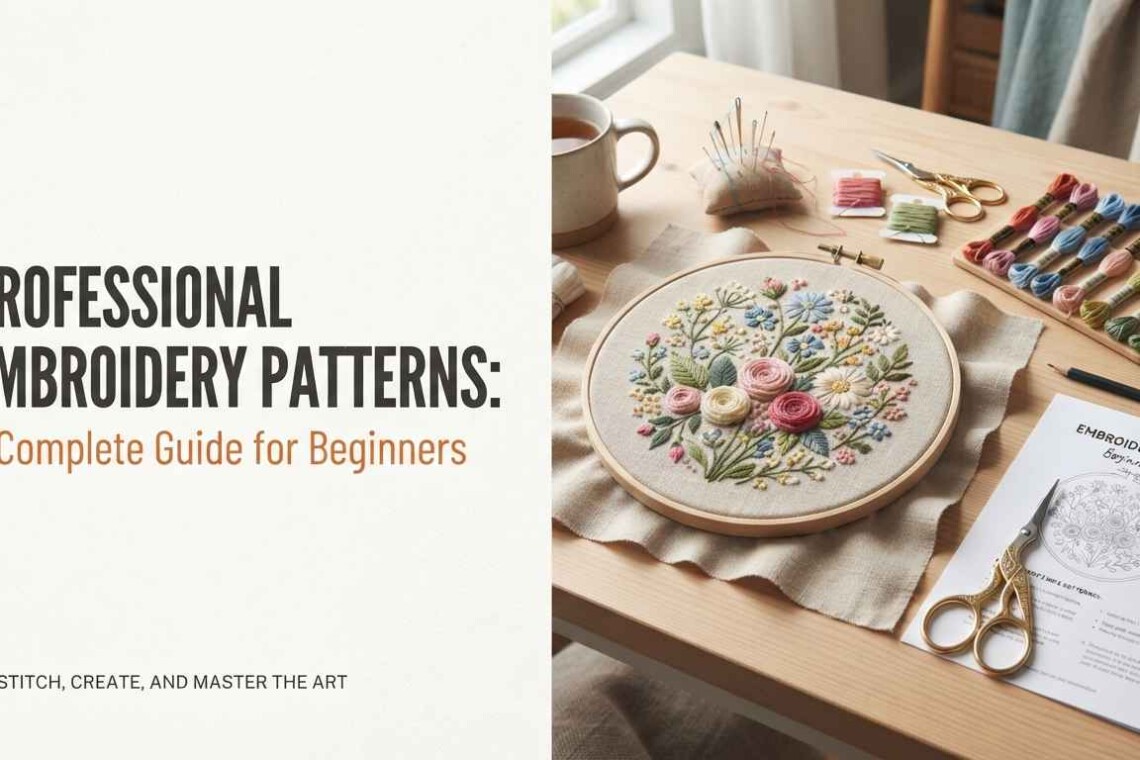
Choosing the right professional embroidery patterns for different fabrics is essential for achieving clean stitching, balanced designs, and durable results. A pattern that works well on thick denim may not produce the same quality on lightweight cotton, stretchy T-shirts, or delicate silk. Each fabric has its own texture, weight, and stability, which affect how embroidery stitches form on the material.
For beginners and experienced embroidery enthusiasts, understanding the relationship between fabric and design can help prevent common problems such as puckering, thread breaks, fabric distortion, and uneven stitch coverage. The right combination of embroidery pattern, stabilizer, needle, thread, and stitch density can improve the final result.
This guide explains how to select professional embroidery patterns for different fabrics, what to consider before stitching, and how to prepare your material for better machine embroidery results.
Fabric is one of the most important factors in machine embroidery because it supports the stitches and affects how the design looks after stitching. Different materials respond differently to needle movement, thread tension, and stitch density.
For example, thick denim can support bold lettering and detailed designs, while lightweight cotton may require a simpler pattern with fewer dense stitches. Stretch fabrics need additional support to prevent distortion, and delicate materials often require lighter designs to avoid damage.
Selecting a suitable pattern helps maintain the fabric’s original shape and gives the embroidery a more polished appearance. It can also reduce production issues, saving time and materials during the stitching process.
Cotton is a popular choice for machine embroidery because it is available in different weights and is relatively easy to work with. It is commonly used for shirts, pillowcases, tote bags, aprons, and other household or clothing items.
For lightweight cotton, choose patterns with moderate stitch density and clear shapes. Designs with excessive stitching may cause puckering or pull the fabric out of shape. Medium-weight cotton can usually support more detailed patterns, including small floral designs, decorative lettering, and simple logos.
Before stitching, use a suitable cut-away or tear-away stabilizer according to the fabric’s weight and the design’s complexity. Test the pattern on a similar piece of cotton to check how the stitches behave.
Denim, canvas, and similar heavyweight fabrics can support bold embroidery designs. These materials are often used for jackets, jeans, workwear, bags, and accessories.
Large lettering, decorative motifs, monograms, and bold logos can work well on denim. However, very dense designs may create stiff areas, especially when multiple layers of fabric and thread overlap.
Use a suitable needle designed for heavier materials and select a stabilizer that provides enough support. Check the thickness of seams and folded areas before positioning the design, as these sections may be difficult for the needle to penetrate.
For denim jackets and bags, consider the item’s construction before choosing a pattern. A design should fit the available stitching area without interfering with seams, pockets, or closures.
Stretch fabrics, including jersey, spandex blends, and many T-shirt materials, require careful pattern selection. Their flexibility can cause stitches to shift or the fabric to stretch during embroidery.
Choose designs with controlled stitch density and avoid unnecessarily large, heavily filled patterns on thin T-shirt material. Small logos, simple lettering, and lightweight decorative motifs are often suitable options.
A cut-away stabilizer is commonly useful for knit fabrics because it continues supporting the stitches after the excess stabilizer is trimmed. Water-soluble topping can also help prevent stitches from sinking into soft or textured surfaces.
Hoop the fabric and stabilizer without stretching the material. Stretching the garment during hooping can cause the embroidered area to appear distorted after the fabric returns to its natural shape.
Silk, satin, chiffon, and other delicate fabrics require a lighter approach to embroidery. These materials may develop visible needle holes, puckering, or distortion when stitched with a dense design.
Choose simple patterns with limited fill areas and moderate stitch density. Fine lettering, small floral motifs, and delicate decorative elements may be more suitable than large, heavily layered designs.
Use a fine needle appropriate for the material and select stabilizer support based on the fabric’s weight and transparency. Temporary stabilizers may be useful for certain delicate projects, but the best choice depends on the garment and design.
Always test the design on a matching fabric sample before stitching the finished item. This is particularly important when working with expensive garments or materials that are difficult to repair.
Fleece and terry cloth have raised surfaces that can hide small stitches. Towels, robes, blankets, and fleece garments often need designs that remain visible above the fabric texture.
Choose patterns with clear outlines, suitable lettering sizes, and enough stitch coverage to maintain visibility. Very fine details may disappear into the pile, making the finished design difficult to read.
A water-soluble topping can help hold down the fabric’s surface while the machine stitches the design. Use a stabilizer that supports the material without making the finished item unnecessarily stiff.
For towels, larger lettering and well-defined motifs are often easier to read than tiny text. Test the pattern on the same type of terry cloth whenever possible.
Leather and faux leather are commonly used for bags, patches, accessories, and selected garments. Because needle holes can remain visible, pattern selection and placement require careful planning.
Choose designs with controlled stitch density and avoid excessive needle penetrations in a small area. Bold outlines, simple logos, and uncomplicated decorative shapes are often more suitable than extremely detailed patterns.
Use a needle and stabilizing method appropriate for the specific material. Some leather products may not be suitable for machine embroidery, so test a sample first and check the manufacturer’s recommendations.
Unlike ordinary fabric, leather generally cannot recover from unwanted needle holes. Confirm the design size and position before stitching.
Lightweight fabrics usually need simpler designs with controlled stitch coverage. Medium-weight fabrics offer more flexibility, while heavier materials may support larger designs but can create problems when multiple layers become too dense.
Consider both the fabric’s thickness and how much embroidery it must support. A thick material does not automatically require a dense design.
Stitch density refers to how closely stitches are placed within a design. Excessive density can make the embroidered area stiff, increase thread consumption, and cause puckering or needle-related issues.
The ideal density depends on the fabric, thread, stitch type, and design dimensions. A well-prepared pattern uses enough stitches for coverage without adding unnecessary ones.
A design should fit the available area and remain readable at its intended size. Tiny lettering and intricate details may work on stable, smooth fabric but become difficult to reproduce on fleece, towels, or stretchy knits.
Check the smallest lettering, narrow outlines, and closely spaced elements before stitching. If details cannot be reproduced reliably, simplify the design or increase its size.
Stabilizer supports the fabric during stitching and helps control movement. Common options include tear-away, cut-away, and wash-away stabilizers, each serving different purposes.
The right choice depends on fabric stability, garment use, stitch density, and whether the stabilizer should remain in the finished product. Delicate fabrics, stretchy materials, and textured surfaces may need different combinations of support.
The correct needle and thread combination helps produce consistent stitches. A needle that is unsuitable for the material may cause skipped stitches, fabric damage, or thread breaks.
Check the embroidery machine’s recommendations for needle type and thread weight. Test thread tension on a sample and inspect both sides of the embroidery before beginning the final project.
One common mistake is using the same design on every fabric without adjusting the stitch settings. A pattern suitable for denim may be too dense for a thin T-shirt, while a lightweight design may lack visibility on a thick towel.
Another problem is selecting designs with tiny lettering for textured materials. The raised surface can cover small details, reducing readability. Increasing the lettering size or simplifying the artwork may produce better results.
Skipping the test stitch is also risky. Even a design that appears correct on a screen may behave differently on the actual material. A sample run can reveal puckering, poor coverage, registration issues, or tension problems before the finished garment is affected.
Finally, avoid stretching fabric while hooping it. The material should be supported smoothly without being pulled beyond its natural shape. Correct hooping helps the finished embroidery remain balanced after the item is removed from the machine.
Embroidery digitizing converts artwork into machine-readable stitch instructions. A properly prepared file considers stitch types, underlay, density, pull compensation, and stitch direction to help the design work with the intended material.
For example, a logo digitized for a cotton polo may need different settings when applied to a fleece jacket or a stretchy T-shirt. Adjustments to underlay and stitch density can help control fabric movement and improve coverage.
When ordering digitizing, provide clear artwork and explain the material, design dimensions, garment type, and intended placement. Mention any special requirements, such as small lettering, textured fabric, or a logo positioned near a seam.
Professional digitizing does not eliminate every embroidery issue, because machine settings, hooping, thread, and fabric quality also affect the outcome. However, a file prepared for the intended material can reduce avoidable problems and make testing more predictable.
Before stitching, review the following points:
These checks are useful for beginners and production teams because they help identify issues before working on the final item.
Choosing professional embroidery patterns for different fabrics requires attention to material type, design complexity, stitch density, stabilizer, and embroidery placement. Cotton, denim, stretch knits, silk, fleece, and leather each have different requirements, so one pattern may not perform equally well on every surface.
Testing the design on a matching fabric sample is one of the most reliable ways to evaluate stitch quality before production. For projects that require consistent lettering, clean logo details, or fabric-specific adjustments, ZDigitizing.Net can help prepare embroidery files suited to the intended application.
Start by identifying the fabric’s weight, texture, and stretch. Then select a pattern with suitable detail and stitch density, choose the correct stabilizer, and test the design on a matching fabric sample.
Cotton can support many designs, including lettering, floral motifs, monograms, and logos. Lightweight cotton usually benefits from moderate stitch density, while heavier cotton can support more detailed embroidery.
Sometimes, but the design may need adjustments. Denim can support heavier stitching than many T-shirt fabrics, which may stretch or pucker under excessive stitch density.
Clear lettering, larger motifs, and designs with suitable stitch coverage often work well on towels. Water-soluble topping can help keep the terry cloth pile from covering the stitches.
Puckering may result from excessive stitch density, poor hooping, insufficient stabilization, incorrect tension, or a design that is too heavy for the material. Testing adjustments on a sample can help identify the cause.
Cut-away stabilizer is commonly used for knit and stretchy fabrics because it continues supporting the stitches after trimming. The ideal choice depends on the material, design, and garment’s intended use.
Different fabrics respond differently to stitch density, underlay, and needle movement. Digitizing that accounts for the intended material can help improve coverage, reduce distortion, and produce more consistent results.

Join The Discussion